How To: Create and Assign Tasks
Learn how to create and assign tasks and check out the different types of tasks you can utilize.
How To: Create and Assign Tasks (For COMPANIES)
Once your GIG is live, here are 4 simple steps to assign students tasks to keep them accountable, informed, and organized.
Once you have listed your GIG, enter the GIG workspace
On the left hand corner, select Tasks
If this is your first task, an example will auto generate based on your GIG description, but you can edit it based on your needs
Name the task
Add a due date
Select the task type (content or regular)
Add a task description
Choose who to assign the task to (everyone or specific participants)
If this is not your first task, you will be prompted with a blank task to fill out
Regular Tasks
Assigning a regular task allows students to complete the task by adding a note, as seen from the student view here:


We recommend this type of task if content is not required including reading a creative brief, submitting a receipt for reimbursement, etc.
Content Tasks
Content tasks can only be completed by uploading content, as seen from the student view here:


We recommend this type of task for any tasks that require uploads including social media content, product photos, proof of reviews, etc.
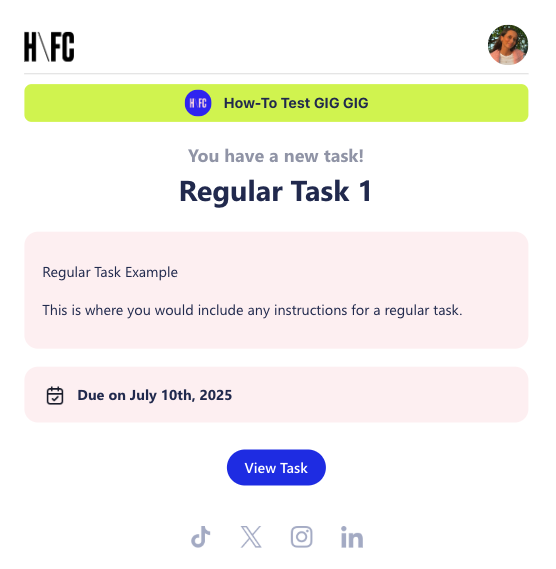
How Students are Notified of Tasks
Students will receive an email notification when a task is assigned with the description and due date regardless of the task type.

Best Practices
💻 Upload tasks before accepting applicants or soon after to avoid confusion
🔗 Include links and attachments to creative briefs
📱 Keep instructions short and clear
For additional questions please reach out to gig@homefromcollege.com or the HFC Bestie Chat.


